Saturday, December 8, 2018


Thursday, December 6, 2018
Four days... four bags....
Today's purse.... AVAILABLE IN MY ETSY SHOP
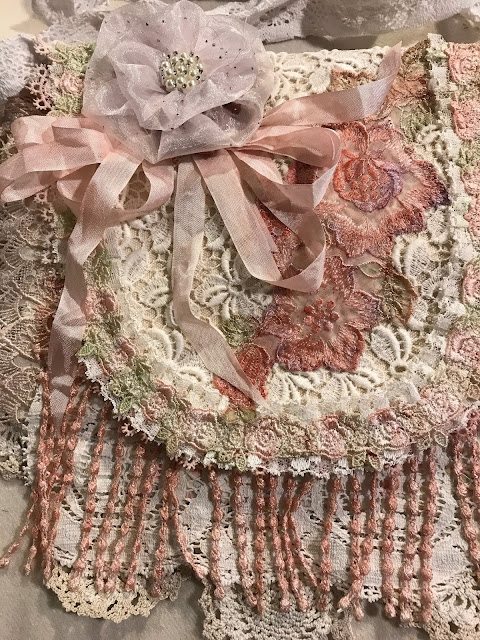
CrossBody purse created with layer upon layer of both vintage and newer laces. All laces have been hand painted to romantic, vintage colors.
The front flap is adorned with an edging of lace and hand painted rose trim. A vintage flower appliqué has been also painted with vintage style colors. You also can see the the shabby chic flower and bow.
Measures 9X9" with laces dripping off the sides and bottom.
Notice the triangular lacy pocket under the front flap. The interior is fully lined with a sweet vintage cotton and has an interior pocket.
Long strap can be worn as cross body, or shoulder bag.


Wednesday, December 5, 2018
Changing gears a bit...
Decided to create something different. This is a cross body lacy bag made with layers upon layers of hand painted laces and appliqués.


Tuesday, December 4, 2018


Monday, December 3, 2018
A Short Kantha Cloth Flower tutorial....
A friend asked me how I make my Kantha Cloth flowers.... here's a quick tutorial...
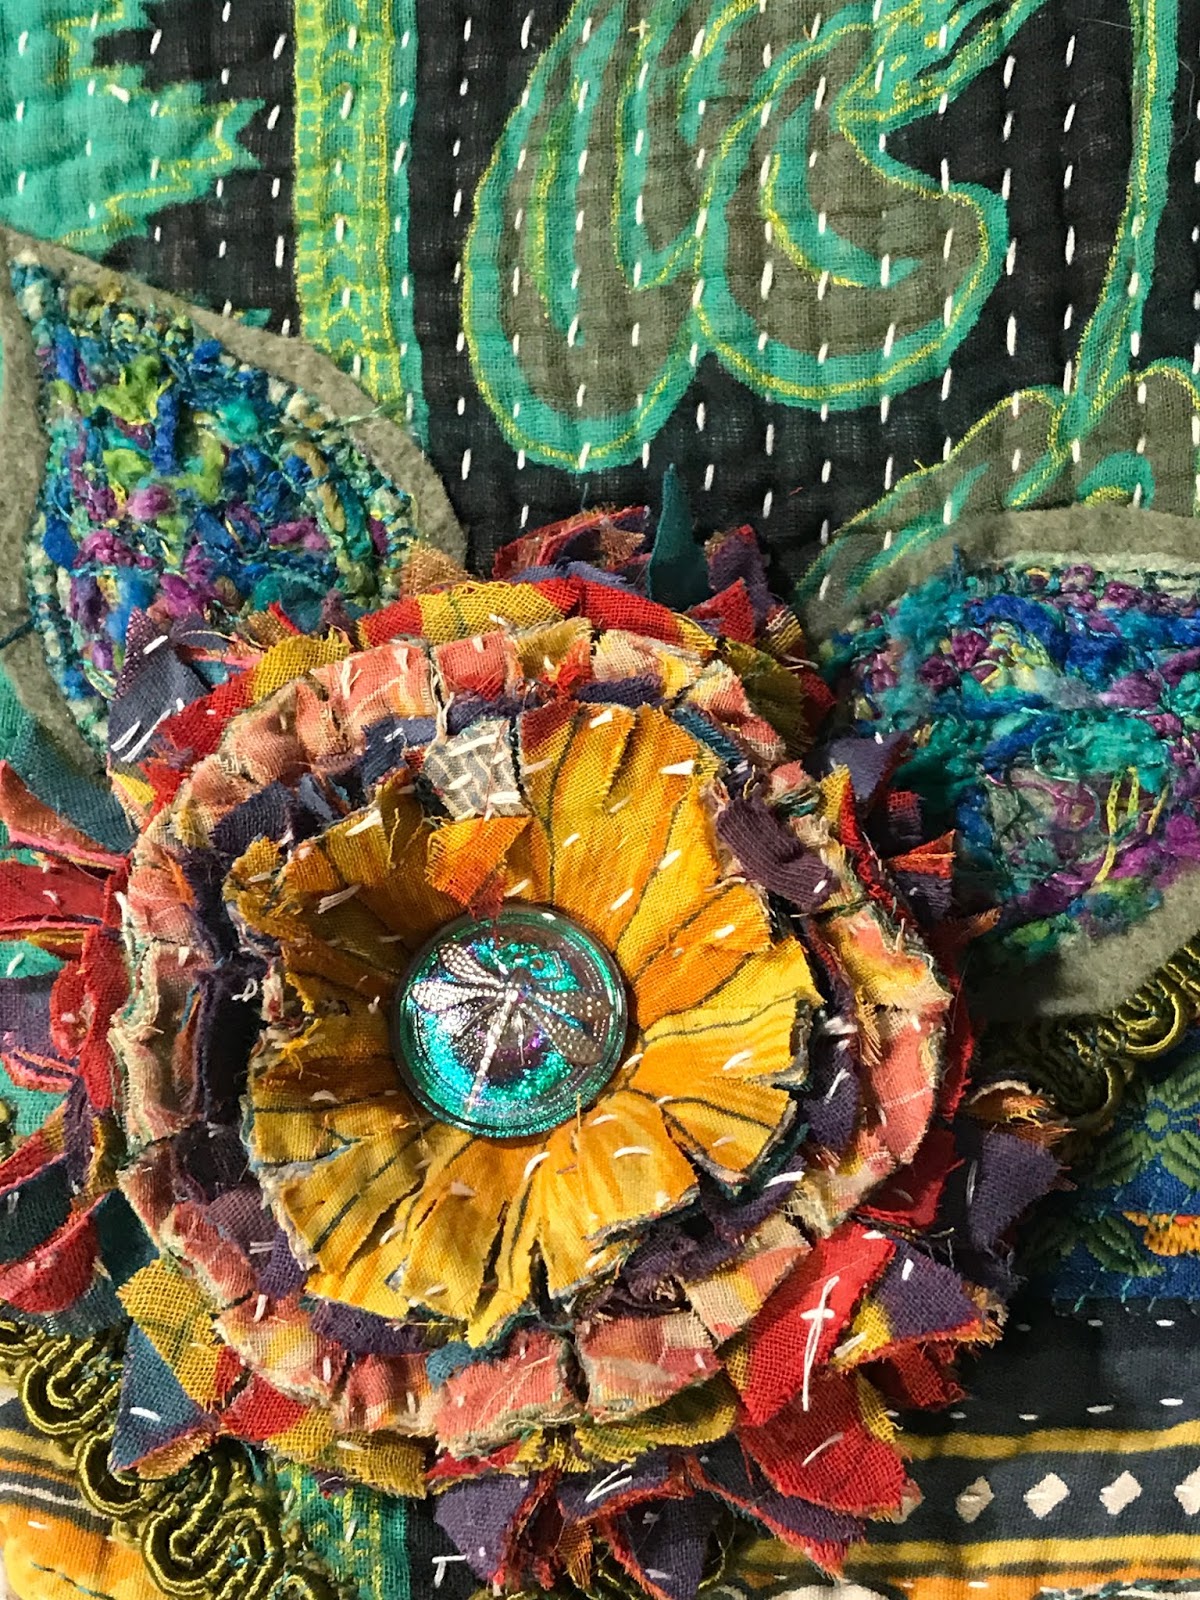
This is the basic flower we're going for.... Just about 4" across.

 Snip around the outer part of the circles, just about 1/2" deep snips.
 Here's how the look in a pile....
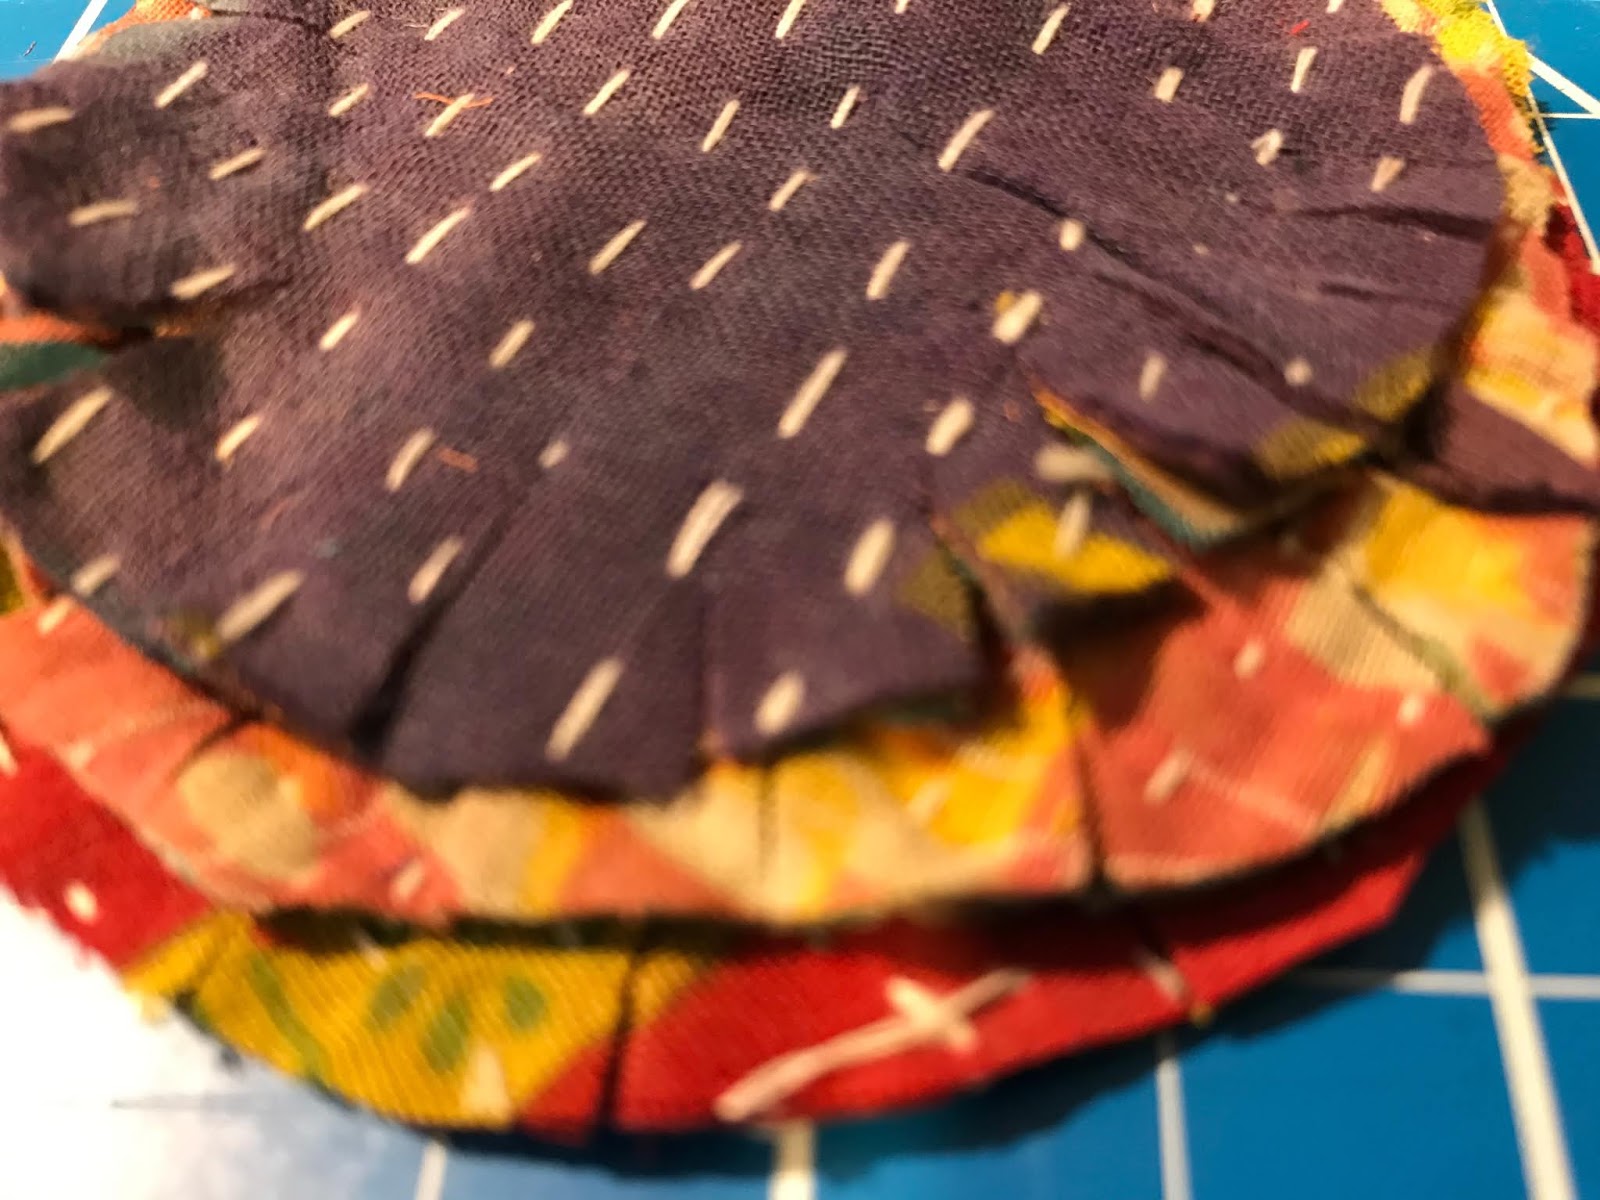
 I usually tack the middle using my sewing machine. There is a minimum of 12 layers of fabric in the middle! After it is tacked together... turn it on it's side and rough it up a bit. You can begin to see the middle layers of fabric showing up.
 Next, take a strip of Kantha cloth about 2" (or less) wide by 20-24" long. Snip along one side.
 A closeup of the snips....
 Then, in no apparent method or precision... snip the ends to make them pointy.
 Then...sew along the uncut edge using a wide running stitch to gather it up. Big stitches are okay, because this layer will be bulky when gathered.
 You can begin to see all the layers here...
 For the base of the flower, cut a 3" circle of felt.

 After I auditioned the gathered layer of pointy petals, I wasn't happy with the long petals...
So...I snipped them even closer/smaller.
 Much happier now...
 Can you see here the metallic layer of cloth? It shows up at the very bottom of this photo.
 Here's my scraps... they look fun. I'll save them for something.
 Lay down a few circles of hot glue. Yes, you could sew the gathered petal layer down...but that's way too many layers of fabric for me to push a needle through. (Use hot glue!)
 As I roughed up this layer the metallic layer of fabric began to show up even more.
 Next, lay down more hot glue...be generous, you're going to lay the top four layers onto this, pushing the middle all the way down to the base felt.
 Pushing the layers together....
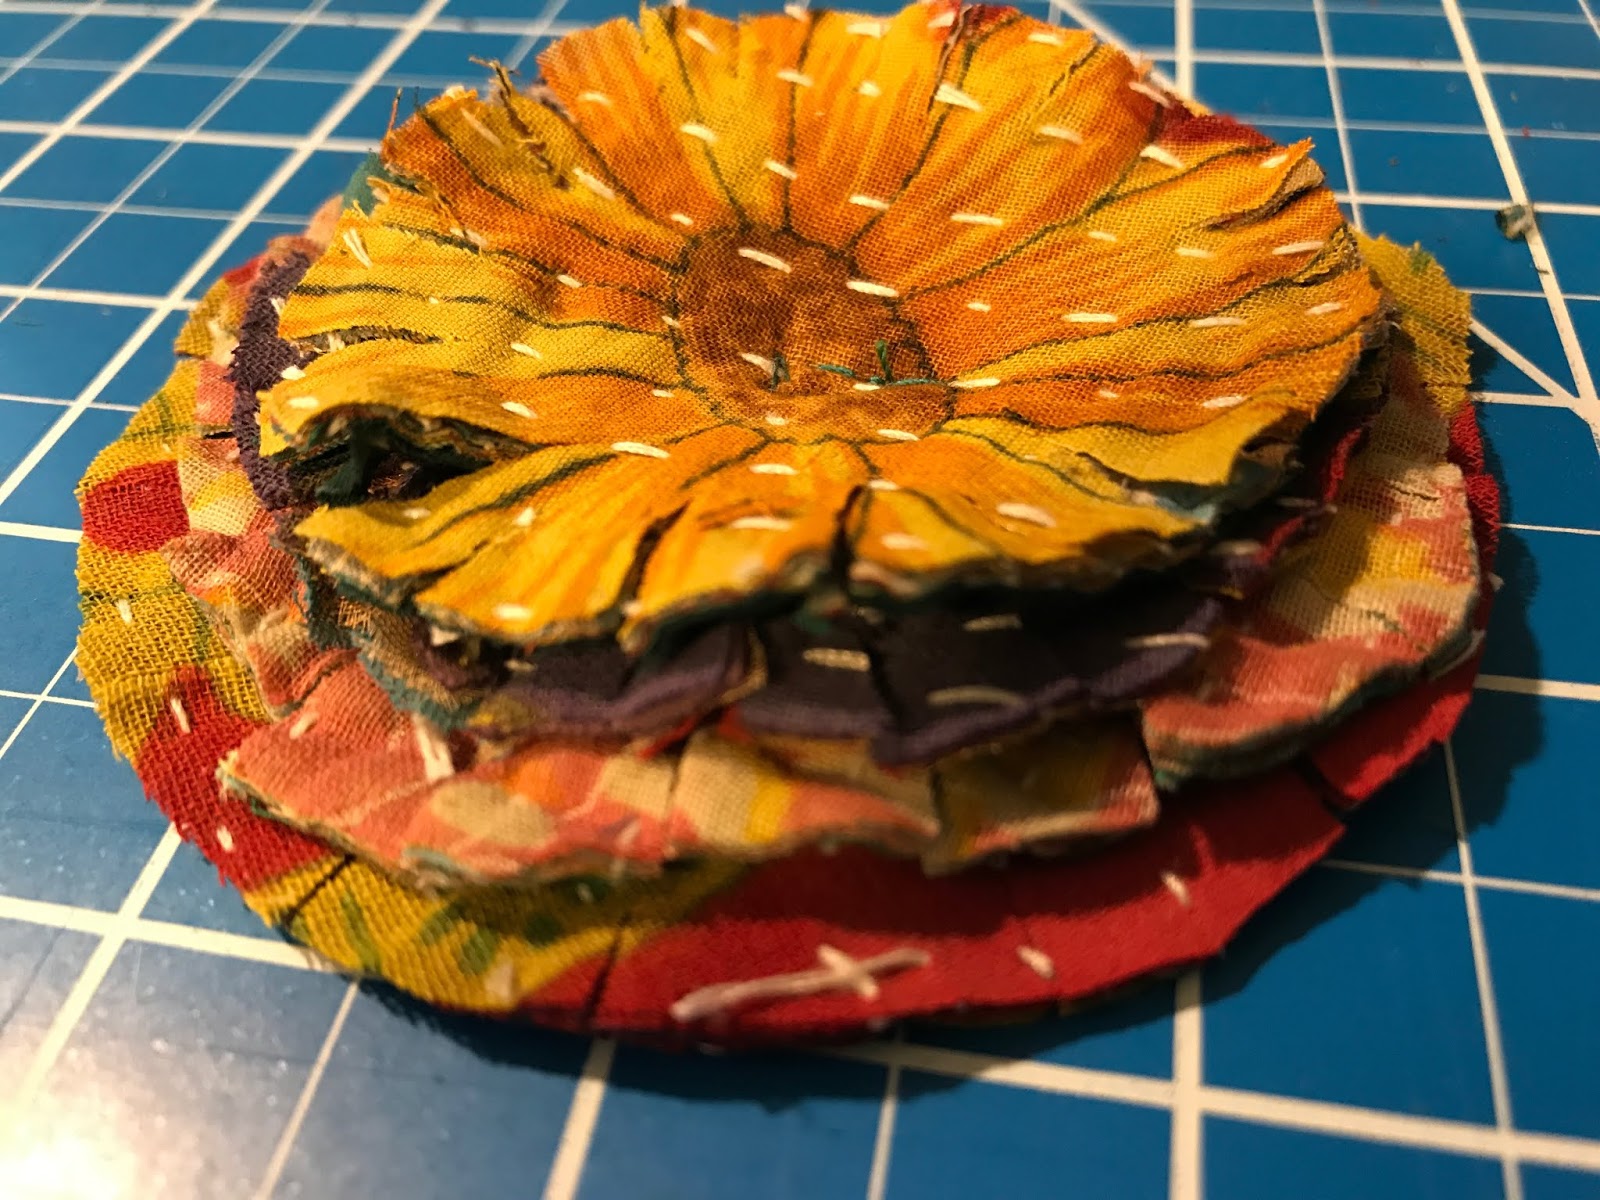
 Then, give it a bit more roughing and scrunching brings out even more layers of fabric!
 Yum....
 Here, I auditioned an embroidered felted center. It's not glued down yet...I may change it.
So...there you have it. sweet flower, right? Now, I'm making more leaves.
Thanks for looking. I'm happy to answer any questions.
This is the basic flower we're going for.... Just about 4" across.

What is Kantha? Where they’re from: Kanthas originate in Bangladesh and the eastern states of India, where women stitch together layer upon layer of old saris and tossed-aside cloth scraps to create thin throws used as blankets and cushions.
It is so much fun to work with!
If you're interested in purchasing some fun pieces of Kantha Quilts... you'll LOVE Cindy at Embellishment Magic, her Etsy Shop. Not only is Cindy warm and personal, and dedicated to your happiness with your order... SHE FEATURES THE BEST MADE Kantha Quilts I've found!
So for our flower.....
Start with four concentric circles, the largest about 3".


So...I snipped them even closer/smaller.


Thanks for looking. I'm happy to answer any questions.
Subscribe to:
Posts (Atom)
-
Where you can find me.... Email: lovechris@earthlink.net Etsy: https://www.etsy.com/shop/MyGrandmasLaces?ref=seller-platform-mcnav Youtub...
-
 Both the journal and treasure box are listed as one item. Find it on my Etsy HERE . Here are my Youtube videos showing each and every jour...
 -
 I loved making this Rose Journal....full of pockets, flips and flaps, journaling pages, and so much more! Measures approximately 9x7, with a...